Chocolate Wasted Cake
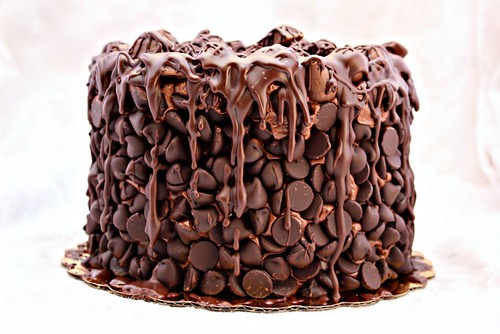
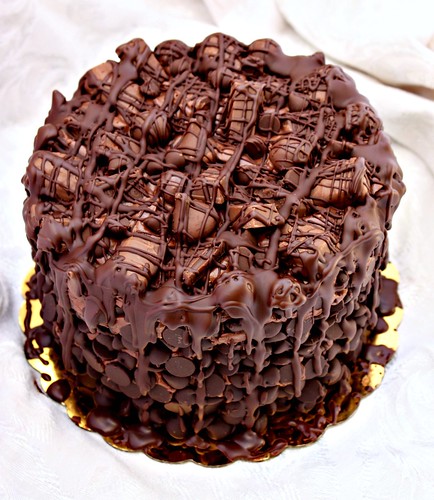
Ever since my brother started using the phrase "I wanna get chocolate wasted" from the movie Grown Ups, I've been wanting to make this cake for his birthday. Being a chocoholic myself, I had no trouble coming up with ways to fill this cake with layer upon layer of chocolatey goodness. Just looking at this cake, I think you'll agree that it definitely deserves its name.
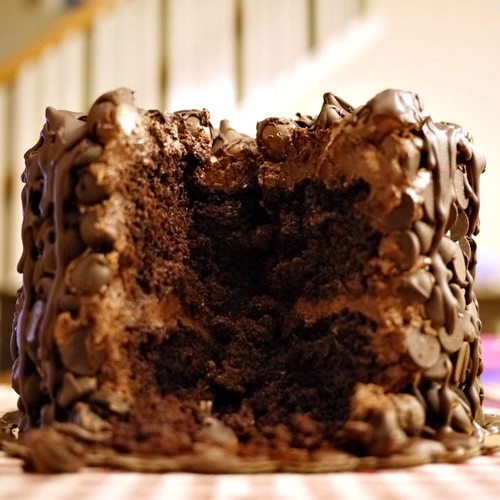
Photo Credit: Ryan Rivera
To create this chocolate beauty, I baked two layers of delicious chocolate cake. Then, I drizzled each cake layer with some Kahlua. I wanted to use chocolate liqueur like Godiva dark chocolate or white chocolate, but all I had on hand was Kahlua, which is a coffee-flavored liqueur and Disaronno, which is an almond-flavored liqueur. Either one would've worked well with the chocolate but since my brother also loves coffee, I decided to go with the Kahlua. Then, I filled and frosted the cake with rich chocolate buttercream.
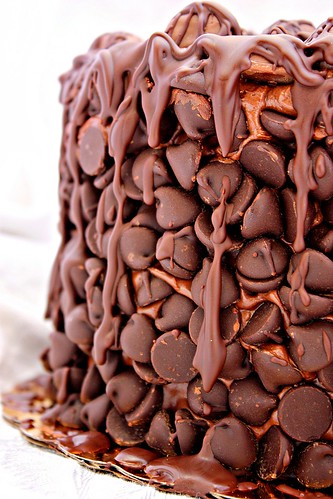
Then, I completely covered the sides of the cake with Ghirardelli semi-sweet chocolate chips. The trick to doing this is to take a handful of chocolate chips and gently press them onto the cake. I placed the cake on a revolving cake stand and I had a large shallow bowl underneath it to catch any chocolate chips that may fall.
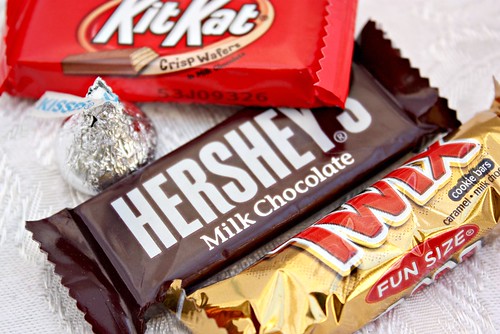
Next, I topped the cake with an assortment of chocolate candies. For this cake, I used Hershey Kisses, Hershey bars, Kit Kat bars, Twix bars and Whoppers. With so many candy choices of out there, I'm sure I can make this cake dozens of times and have a different batch of candies to top the cake every time.
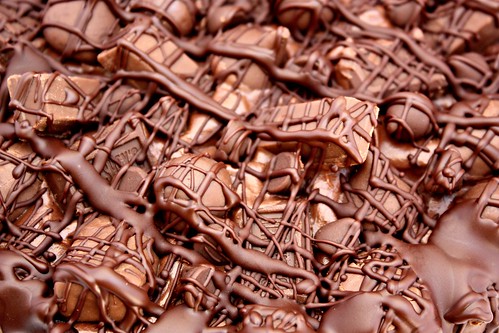
Last, I drizzled some melted chocolate all over the cake. I crisscrossed the melted chocolate on top and then poured more around the edges of the cake. Think Jackson Pollock. I made sure there was plenty of melted chocolate dripping down the sides of the cake. I think it makes it look even more decadent and mouthwatering.
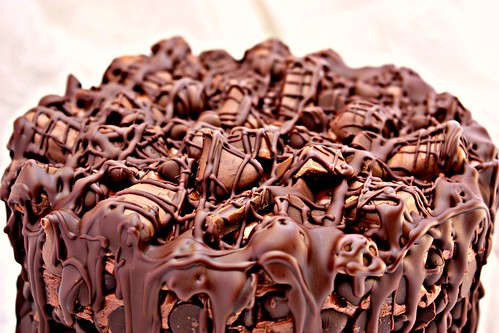
I hope this cake inspires you to create your own chocolate wasted cake. What I love about this cake is it's absolutely over-the-top with chocolate and yet it's pretty easy to make, even for a novice baker. It's the kind of cake you just wanna dive into and devour. You can use your own chocolate cake recipe and top it with all the chocolate candy your heart desires. And with Halloween just around the corner, I'm sure they'll be plenty of chocolate candy around to make this cake :-)
Special thanks to Jef at My Food Geek for sharing some food photography tips with me recently. I tried them out and I'm really happy with how my pictures turned out. Thanks again my friend!
Chocolate Wasted Cake
Makes 8-12 servings
Allergy Note: contains wheat and dairy ingredients
*See notes for allergen-friendly or vegan alternatives
cake: (for my original chocolate cake recipe or a vegan "wacky cake" version, please check my One Good Chocolate Cake post )
3 cups all-purpose flour
2 1/2 cups sugar
1 cup cocoa powder
2 tsp. baking soda
1 tsp. salt
2 cups milk*
1 cup butter, melted*
4 tsp. honey*
2 tsp. vanilla extract
1/2 cup semi-sweet chocolate chips*
frosting:
4 cups powdered sugar, sifted
1 cup cocoa powder
1/2 cup butter, softened to room temperature
1/3-1/2 cup whole milk (start out with 1/3 cup of milk and add more milk to your desired consistency)
1 tsp. vanilla extract
liqueur for drizzling on the cake layers (i.e. chocolate, coffee or almond)
melted chocolate for drizzling, :
2 cups semi-sweet chocolate chips*
1/2-3/4 cup heavy cream or 1/4 cup vegetable oil
semi-sweet, bittersweet or dark chocolate chips for the sides of the cake
assorted chocolate candies for the top of the cake*
To make the cake:
(Note: Instead of milk, you can replace it with water or cooled brewed coffee. Instead of butter, you can use vegetable oil. Instead of honey, you can use corn syrup or agave nectar. Instead of semi-sweet chocolate chips, you can use Enjoy Life brand chocolate chips. For allergen-free alternatives for the candies, you can try Enjoy Life chocolate chips, bars or cookies)
Preheat oven to
Sift together flour, sugar, cocoa powder, baking soda and salt. In a separate mixing bowl, combine milk, butter, honey and vanilla extract. Slowly add the dry ingredients into the milk/butter mixture. Mix until combined. Fold in the semi-sweet chocolate chips. Pour in the batter into prepared cake pans. Bake for 30 to 45 minutes or until a toothpick inserted in the center comes out clean. Remove from oven and wait for about 10 minutes to remove from cake pans and place on a cooling rack. Allow to cool completely before decorating.
To make the frosting:
Note: instead of butter, you can use any allowed margarine, Spectrum organic vegetable shortening, or coconut oil. Instead of milk, you can use rice milk or soy milk.
In a large mixing bowl, sift together powdered sugar and cocoa powder. Add the butter, milk and vanilla extract. Using an electric mixer, slowly mix together at a low speed. Once all the ingredients are combined, increase the speed and beat till fluffy.
To assemble the cake:
Place the first cake layer on a plate or cake circle. Lightly drizzle with liqueur. Spread an even layer of frosting. Place the second cake layer on top of the frosting. Lightly drizzle with liqueur. Cover the sides and top of the cake with frosting. Cover the sides of the cake with semi-sweet chocolate chips and cover the top with assorted chocolate candies. Drizzle the melted chocolate all over the top of the cake and let it drip down the sides of the cake.
Please note: I am not a paid endorser nor did I accept any free samples of the brands or products mentioned in this post. I just love them and wanted to share them with you


0 comments:
Post a Comment